
How Stone Slab Fabrication Works: From Full Slab to Finished Kitchen
When you look at a finished quartz or granite countertop, it can appear surprisingly simple.
One continuous piece of stone sits perfectly against the cabinets, wraps around walls, accommodates the sink and cooktop and follows every corner of the kitchen.
Getting it to that point is anything but simple.
Before a slab ever reaches your Portland home, it goes through a precise measurement, layout and fabrication process designed specifically for your space.
Understanding that process can help you appreciate why professional slab installation matters.
Step 1: The Kitchen Is Measured
Accurate measurements are the foundation of the entire project.
Walls aren’t always perfectly straight.
Corners aren’t always exactly 90 degrees.
And this becomes particularly important in older Portland homes where decades of settling and remodeling may have created small variations throughout the room.
Professional measurements establish countertop lengths, depths, angles, overhangs and appliance locations.
Step 2: A Template Is Created
After cabinetry is installed and properly positioned, measurements are converted into a countertop template.
The template represents the exact shapes that will ultimately be cut from the slab.
It accounts for details such as sink openings, cooktops, faucets, walls, overhangs, seams and irregular corners.
Once fabrication begins, changing these details becomes much more difficult.
That’s why sinks, faucets and appliances should generally be finalized before the material is cut.
Step 3: The Slab Layout Is Planned
This is where craftsmanship and design begin working together.
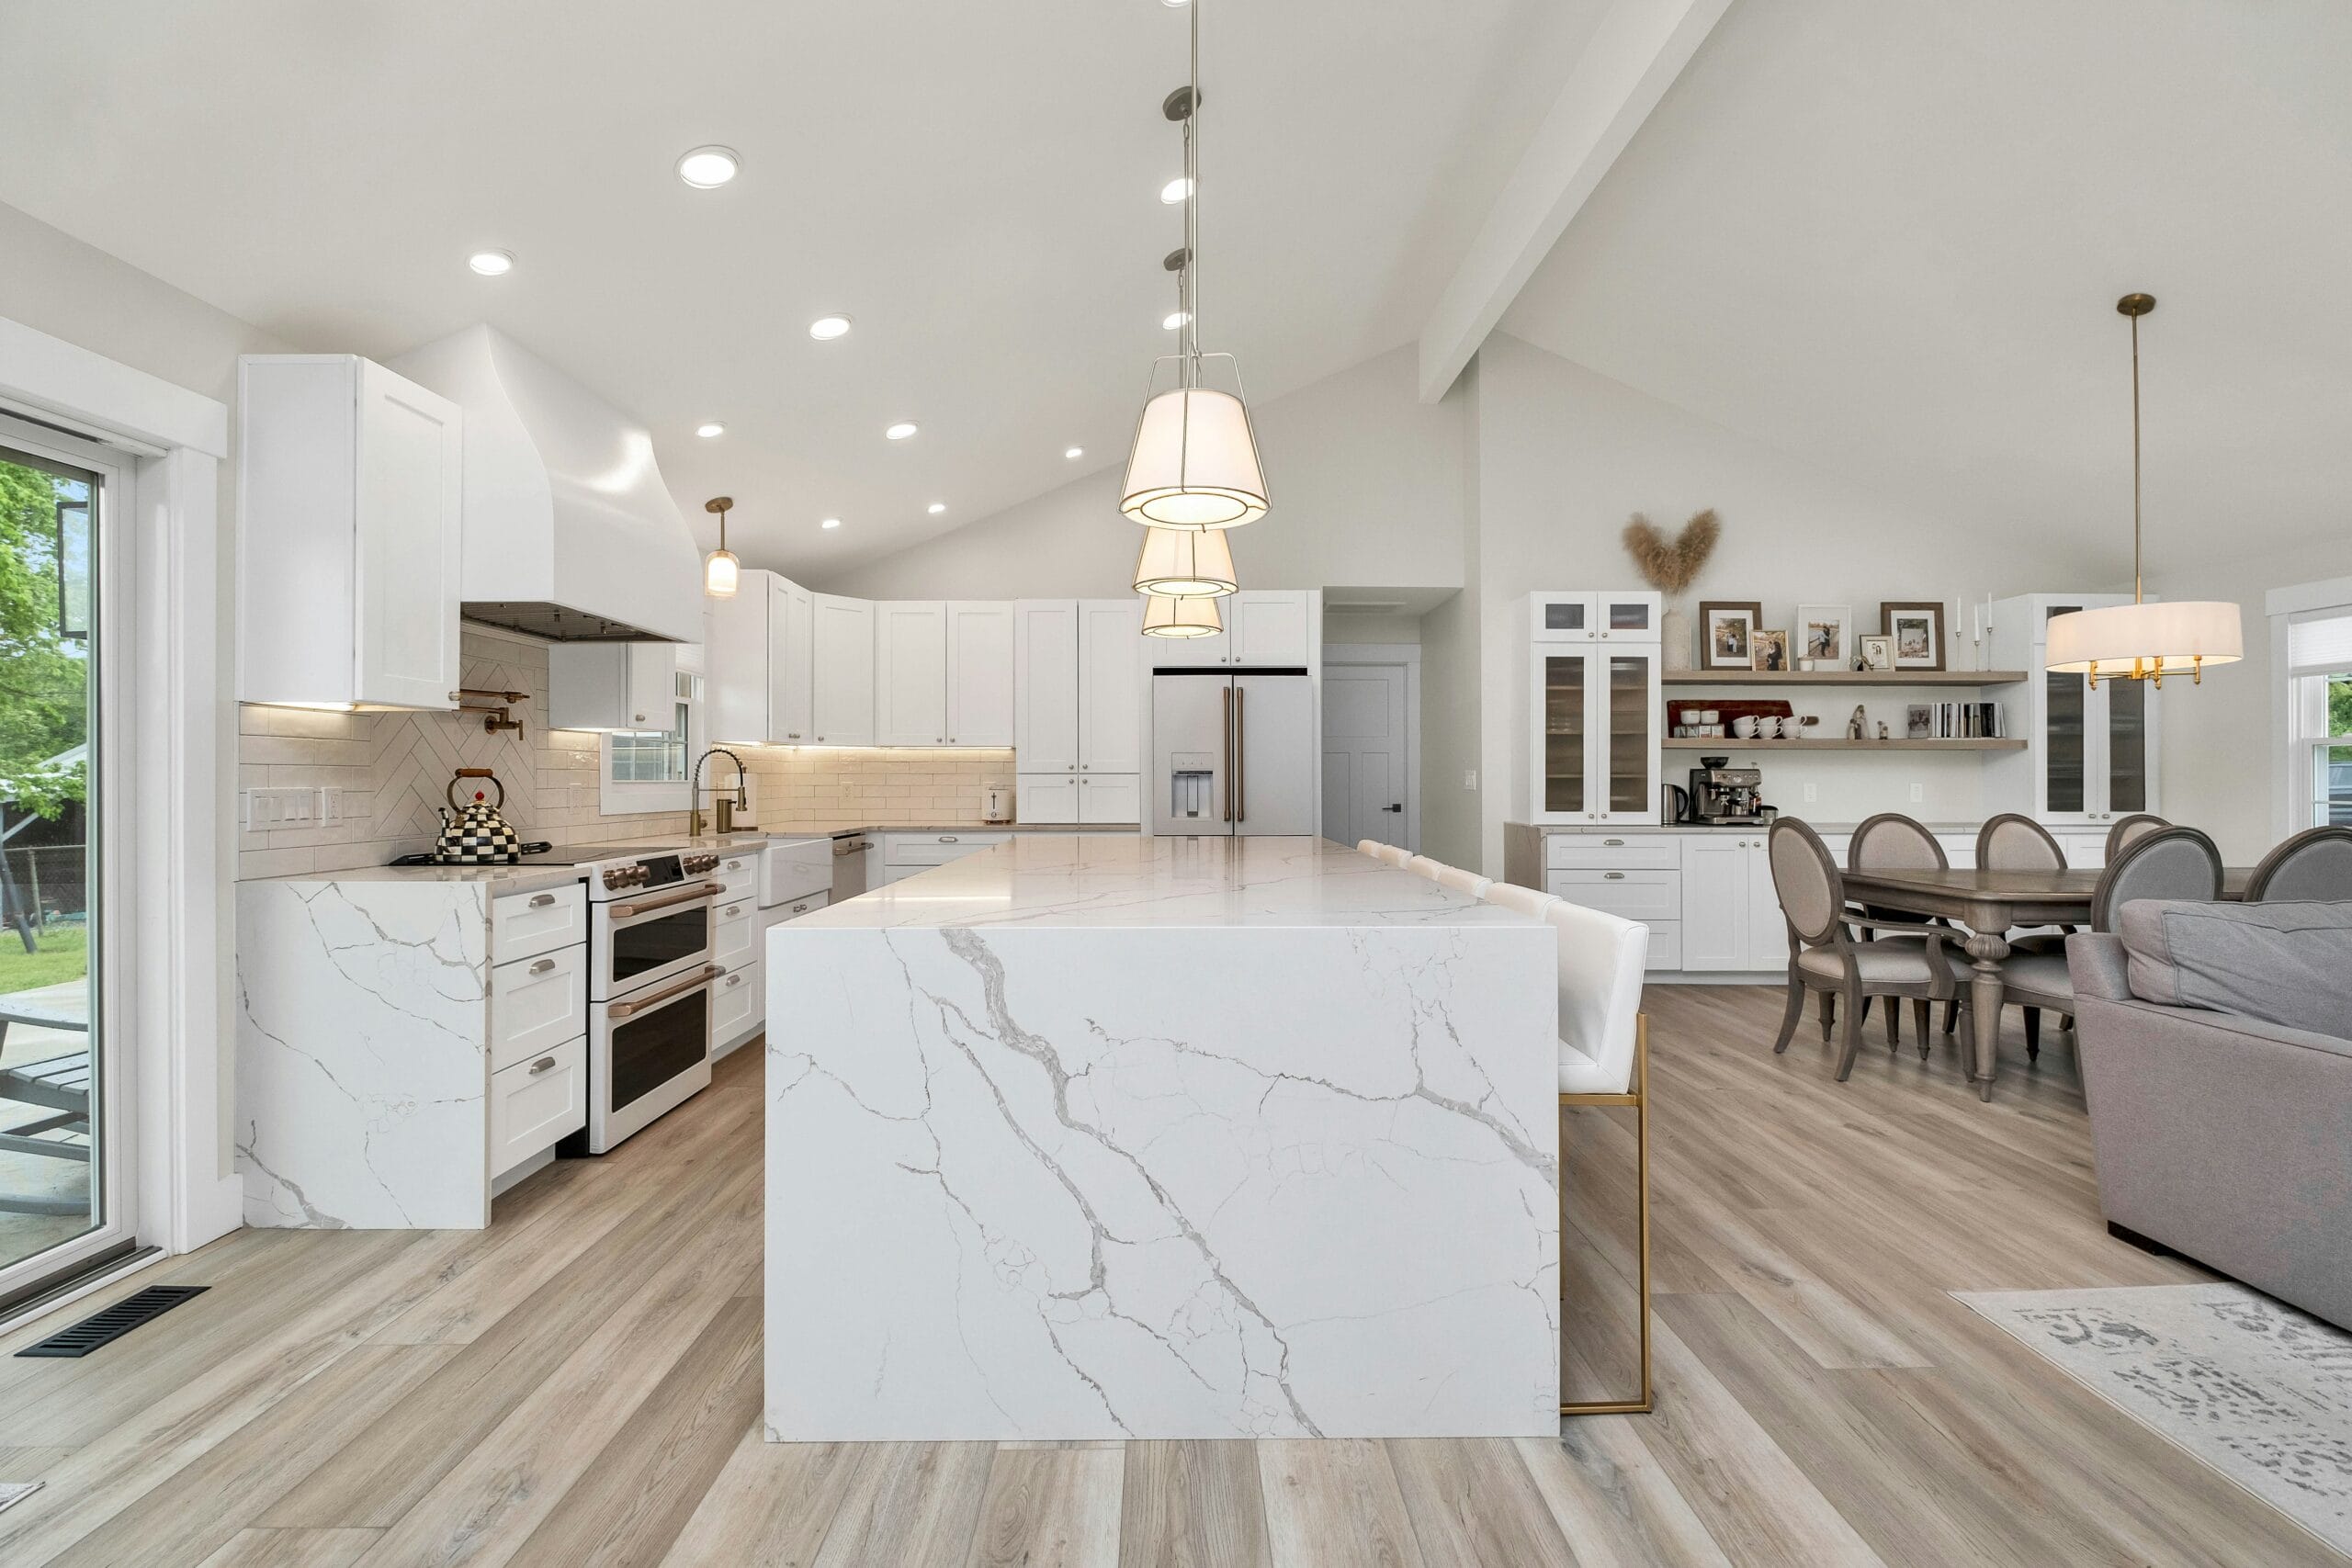
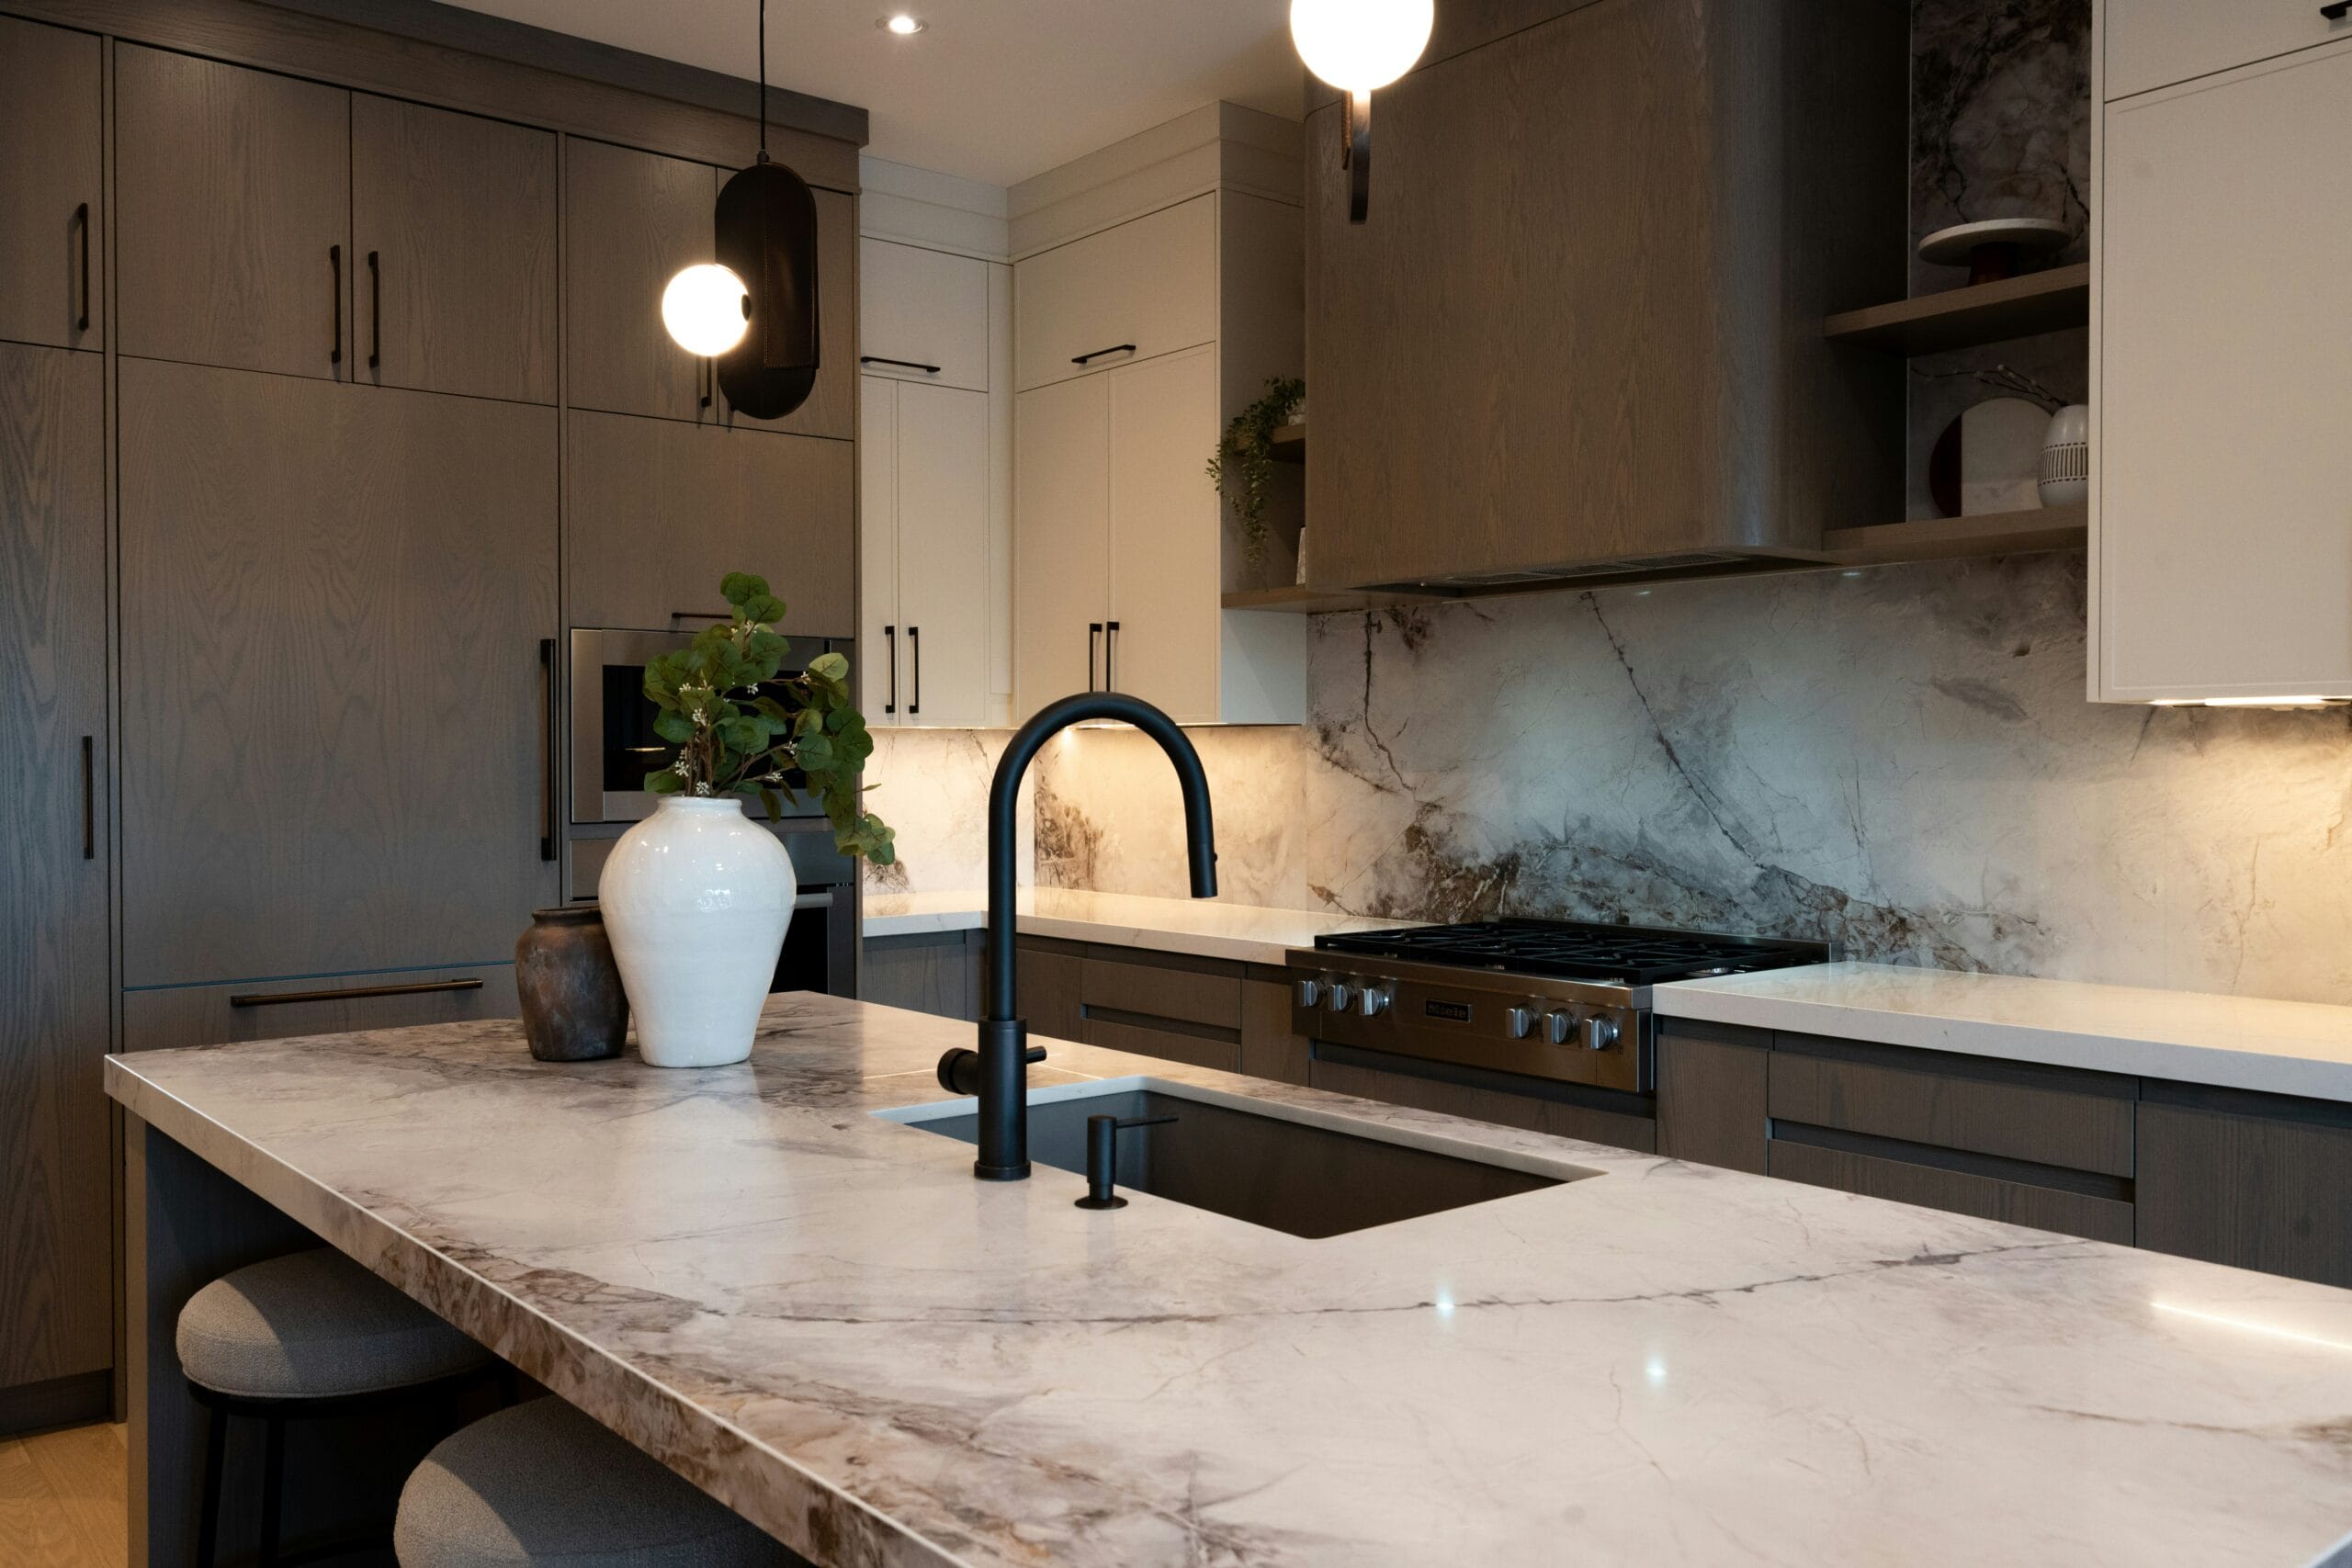
Imagine a large marble-look slab containing one dramatic vein.
There might be several ways to physically fit the countertop pieces onto the slab.
But only some of those layouts will make the finished kitchen look intentional.
The fabricator considers where the pattern should appear on the island, how veins transition around corners and where seams can be placed with the least visual disruption.
For highly patterned stone, slab layout can be almost as important as the material itself.
Step 4: Countertop Pieces Are Cut
Once the layout is approved, the countertop sections are cut from the larger slab.
Modern fabrication equipment can achieve extremely precise dimensions, but experienced planning still matters.
The slab needs to accommodate walls, cabinets and openings without leaving inappropriate gaps.
Sink and cooktop openings must also be positioned exactly.
Unlike wood or laminate, stone isn’t a material you want to repeatedly trim and adjust after arriving at the customer’s house.
Step 5: Edges Are Fabricated and Finished
The visible edges of the countertop are shaped and polished.
A simple straight or eased profile fits many modern kitchens, while other designs can create a thicker or more decorative appearance.
The right edge should complement the cabinetry and overall architecture rather than compete with the stone pattern.
This stage is also where waterfall panels and other custom slab details require additional attention.
Step 6: Seams Are Planned
A common misconception is that professional stone countertops never have seams.
Many installations do.
The goal is to place and finish them intelligently.
Larger slabs can reduce the number of required joints. For example, Caesarstone offers certain jumbo-format surfaces specifically to make larger applications possible with fewer seams.
But slab dimensions aren’t the only consideration.
The fabricated pieces must also be transported into the home safely.
Doorways, hallways, staircases and the physical weight of the stone can influence the final installation strategy.
Step 7: The Slabs Arrive at Your Home
Installation day is when all the previous planning comes together.
The fabricated pieces are carefully positioned on the cabinetry.
Installers check their alignment, overhang, level and fit before securing everything.
Sink openings, seams and wall transitions are carefully inspected.
Prime Remodel’s countertop service describes its process as including measurement, fabrication and professional installation, with the goal of achieving precise fit and a polished finished surface.
Step 8: Seams and Final Details Are Finished
Where countertop sections meet, the seams are joined and finished.
A backsplash may be installed afterward depending on the project.
Once plumbing and appliances are reconnected as applicable, the kitchen begins looking less like a construction project and more like the finished space the homeowner envisioned.
Why Professional Fabrication Matters
Premium slabs represent a significant investment.
Once material is cut incorrectly, the mistake isn’t always easy—or inexpensive—to correct.
Quality fabrication helps ensure the sink fits properly, seams fall in appropriate locations, edges look consistent and the slab pattern makes visual sense across the room.
It’s the difference between simply installing stone and creating a surface specifically designed for the kitchen.
Stone Slab Installation in Portland, Oregon
Prime Remodel & Restoration specializes in countertops, backsplashes and premium stone slabs, including quartz, granite, marble and Dekton, throughout the greater Portland area. The company emphasizes material selection, precise installation and high-quality craftsmanship.
Planning a slab project? Call Prime Remodel & Restoration at (503) 901-2595 for a fast, free estimate.
Or send us a message. We’ll get back to you within 24 hours.