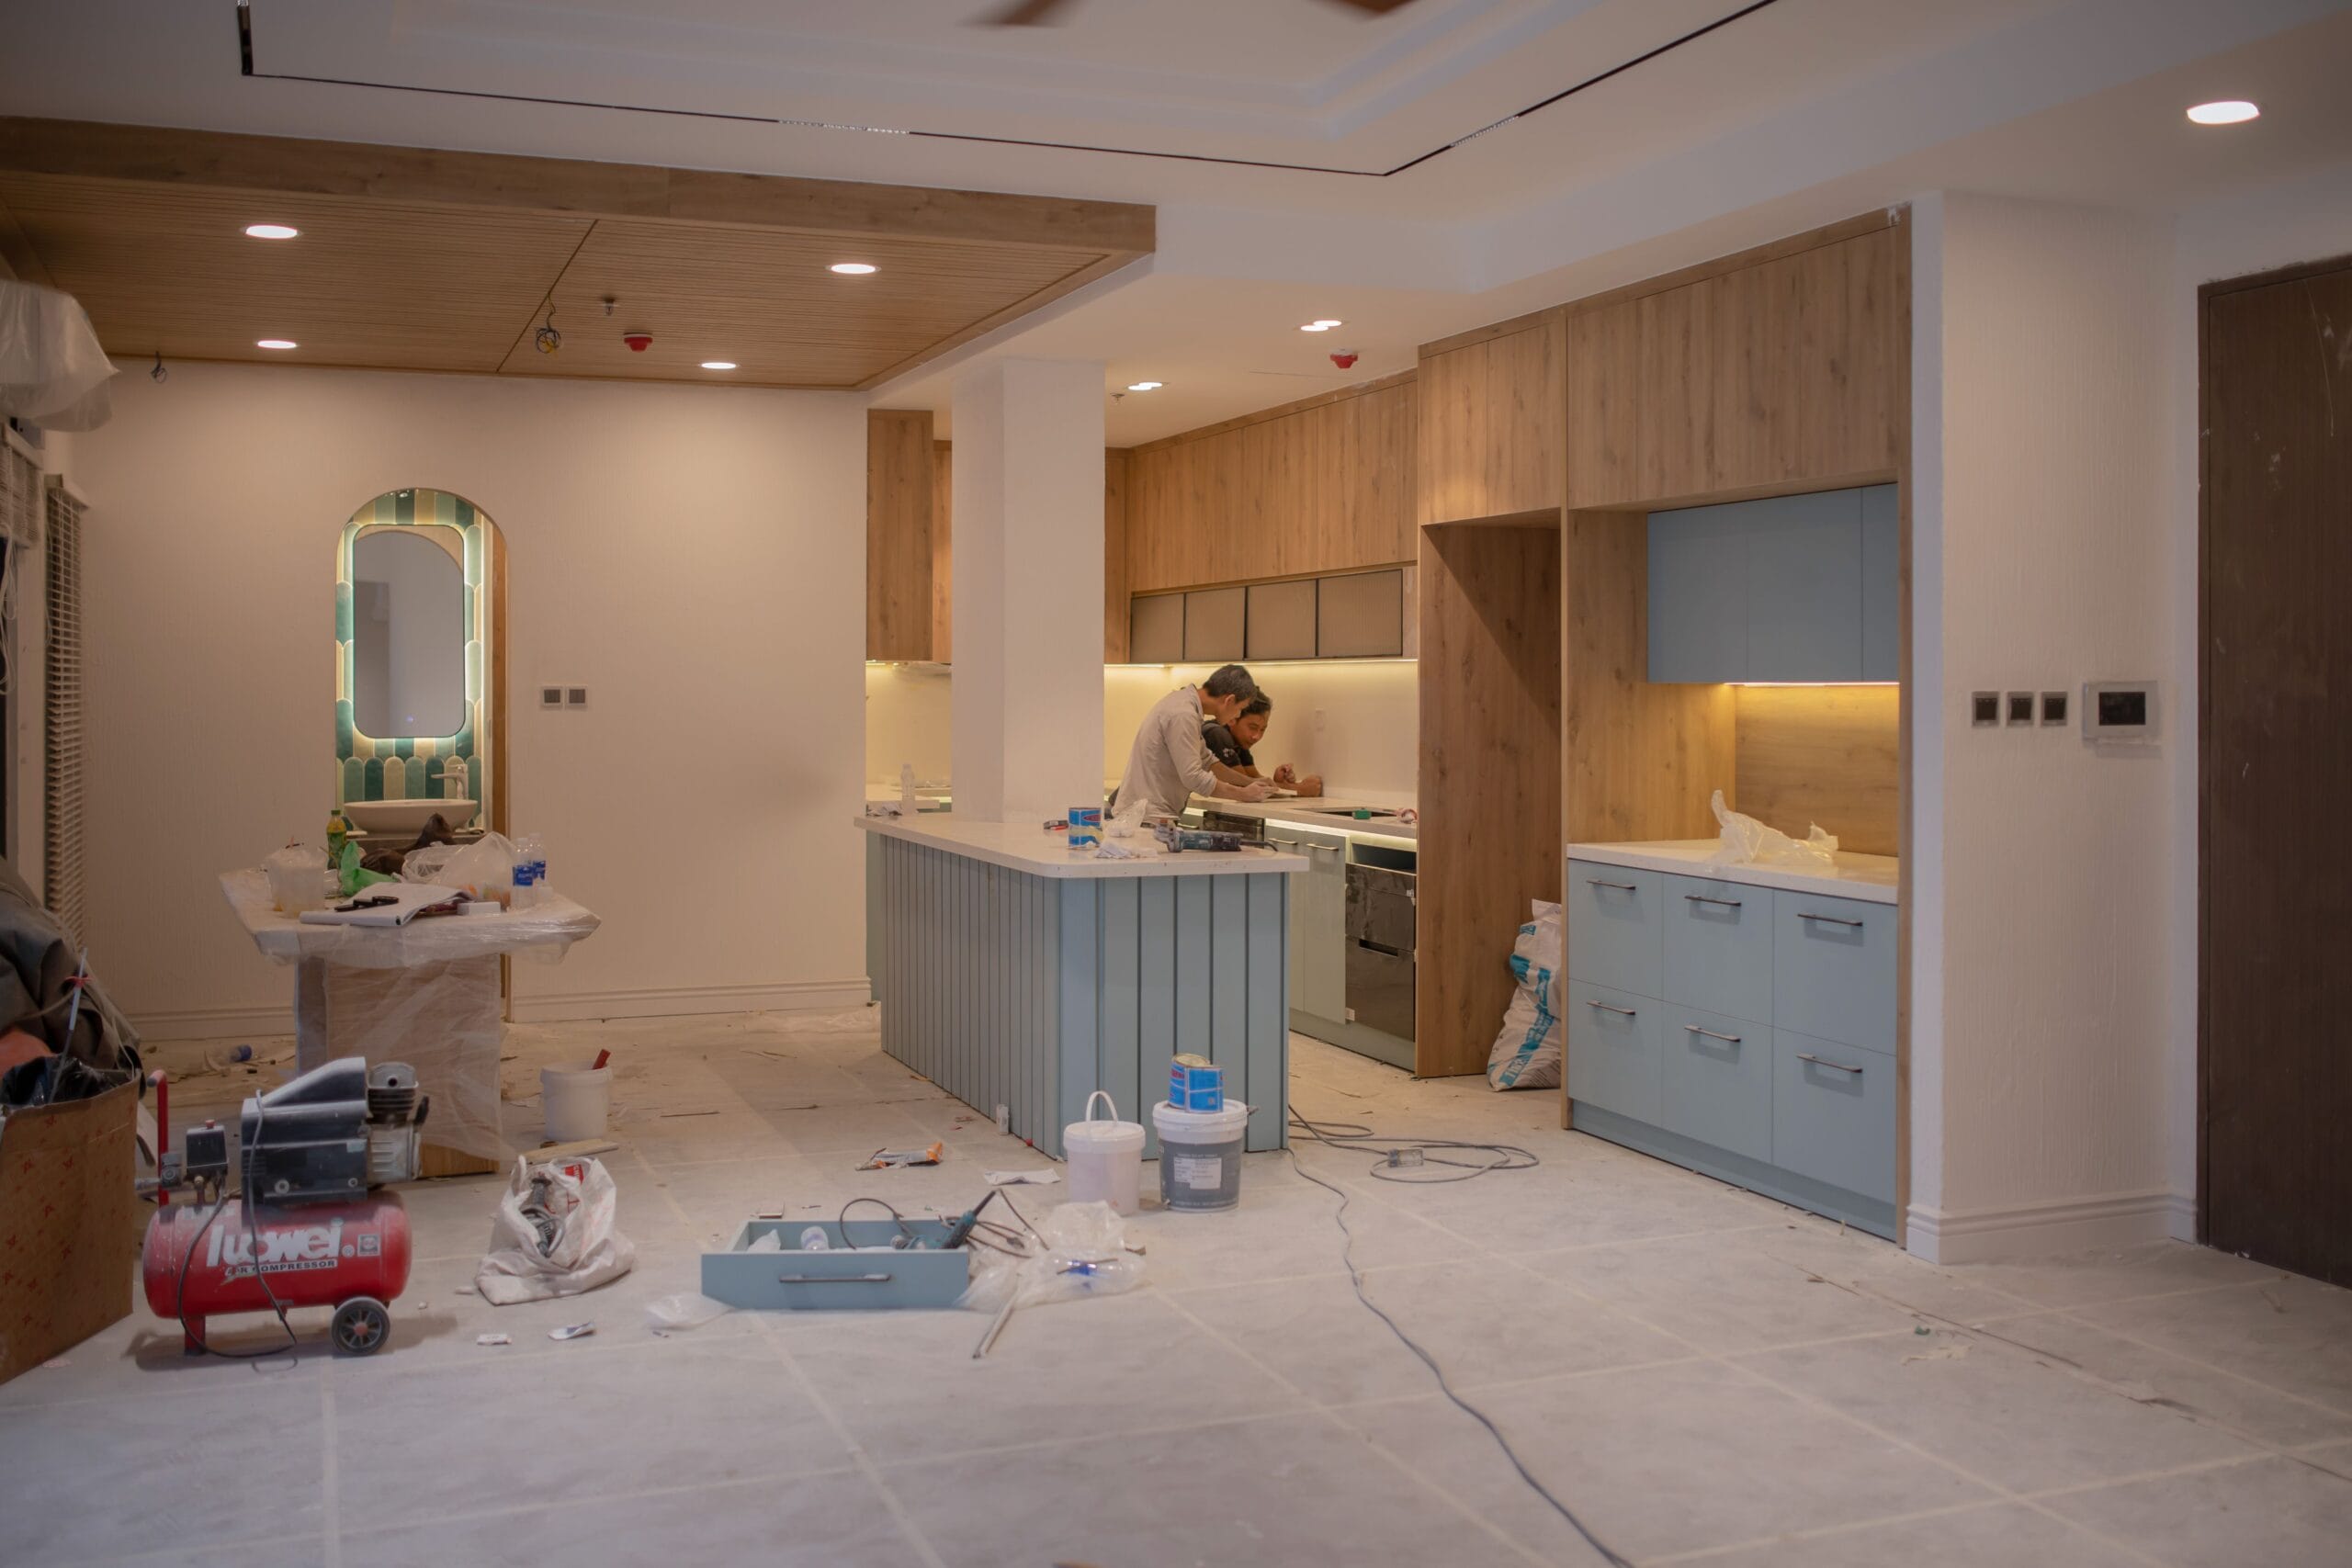

What to Expect During Countertop Installation in Portland
You’ve selected the look you want and you’re finally ready to replace your old countertops.
What happens next?
Understanding the countertop installation process before work begins can make your Portland kitchen or bathroom upgrade significantly easier. While every project is different, professional stone countertop installation usually follows a predictable sequence.
Step 1: Measure the Space
Everything begins with accurate measurements.
Countertops must fit walls, cabinets, sinks, appliances and corners precisely. Even small differences can become noticeable once a large stone slab is installed.
Older Portland-area homes can sometimes present additional challenges because walls and cabinets may no longer be perfectly square or level.
That doesn’t necessarily mean you need to rebuild the kitchen. It simply makes accurate measuring and proper preparation more important.
Step 2: Choose Your Material
Next comes one of the most enjoyable parts: choosing the countertop itself.
Prime Remodel & Restoration works with options including quartz, granite, marble, Dekton and other natural and engineered stone surfaces.
Consider three things when comparing slabs:
Appearance: Do you want subtle movement or dramatic veining?
Maintenance: Are you comfortable periodically sealing natural stone, or would you rather have a lower-maintenance engineered surface?
Daily use: Think about cooking habits, children, entertaining and how heavily the countertop will be used.
Step 3: Finalize the Sink, Faucet and Edge
These details need to be resolved before fabrication.
The fabricator needs to know the exact sink model and dimensions to make the cutout.
You’ll also choose the countertop edge. A simple eased edge creates a clean contemporary appearance, while more decorative profiles can complement traditional Portland homes.
If you’re installing a cooktop, soap dispenser or additional accessories, those details should also be discussed.
Step 4: Template the Countertop
Once cabinetry is ready, precise templates are created.
Think of the template as the blueprint for your countertop.
It establishes dimensions, angles, seam locations, overhangs and openings so the slab can be fabricated specifically for your kitchen or bathroom.
This is one of the reasons countertop installation isn’t simply a matter of buying a slab and placing it on top of the cabinets.
Step 5: Fabrication
The selected slab is then cut and finished according to the measurements.
Sink openings, cooktop openings and edge profiles are fabricated before installation.
For natural stone, slab layout is especially important because positioning determines where the stone’s veining and natural patterns appear on the finished countertop.
Step 6: Remove Existing Countertops
On replacement projects, the existing surface must be carefully removed.
This may involve disconnecting the sink or removing backsplash materials depending on the project scope.
The cabinetry underneath can then be inspected and prepared for the new countertop.
Prime Remodel notes that existing countertop removal and disposal can be handled as part of its slab upgrade process.
Step 7: Install and Level the New Surface
The fabricated pieces are carefully moved into position.
Installers check alignment, overhangs and seams before permanently securing the countertop.
Stone slabs are extremely heavy, which is why proper handling and adequate cabinet support are critical.
Seams are then joined and finished to make the transition as clean and unobtrusive as possible.
Step 8: Add the Backsplash
If your project includes a new backsplash, installation typically follows the countertop.
Choosing the countertop first gives you a permanent visual reference for selecting tile color, grout and pattern.
Prime Remodel installs custom tile, stone, glass and quartz backsplashes in addition to countertops and slabs.
How Long Does Countertop Installation Take?
The actual installation can often be completed quickly once fabrication is finished.
Prime Remodel states that most countertop or slab installations are completed within approximately a week depending on project size and complexity, while the countertop service page notes that the overall templating-to-installation process can span roughly one to three weeks.
Material availability and fabrication complexity can affect the overall schedule.
Preparing Your Home for Installation Day
Before your installers arrive, clear everything from countertops and remove items from nearby drawers or cabinets that could interfere with the work.
Create a clear path from the entrance to the kitchen because slabs are heavy and difficult to maneuver.
If plumbing needs to be disconnected, make sure you’ve confirmed who will handle that portion of the project.
And if you’re replacing both the countertop and backsplash, expect the kitchen to be partially unavailable while that work is underway.
Professional Countertop Installation in Portland, Oregon
Beautiful stone is only part of a great countertop.
Precise measurement, fabrication and professional installation determine how well that material actually performs in your home.
Prime Remodel & Restoration provides countertop, slab and backsplash installation throughout the greater Portland area with an emphasis on craftsmanship, clear communication and efficient turnaround. The company’s site currently shows a 5.0 rating from 33 customer reviews.
Planning a countertop upgrade? Call Prime Remodel & Restoration at (503) 901-2595 for a free quote.
Or send us a message. We’ll get back to you within 24 hours.